As social media platforms continue to evolve, online communities have become a popular way for individuals to connect with like-minded people. Facebook groups, in particular, have gained immense popularity over the years, providing a space for individuals to discuss, share, and collaborate on various topics. While they can be a great way to build communities, there may come a time when the group is no longer needed, and it’s time to delete it. In this article, we will provide a simple guide on how to delete a Facebook group and offer tips on managing online communities effectively.
Key Takeaways:
- Deleting Facebook groups is a straightforward process that requires a few simple steps.
- Properly managing an online community is essential for the smooth functioning of the group.
- Regular maintenance, including removing inactive members and monitoring user activity, can help prevent issues in the future.
Understanding Facebook Group Deletion
If you’re the admin of a Facebook group, you may find yourself facing the decision to delete it. There are various reasons why someone might want to do this, such as the group’s topic is no longer relevant or the group has become inactive. Whatever the reason may be, Facebook has made it fairly simple for group admins to delete their groups. Here’s a Facebook group deletion guide to help you through the process.
Steps to Delete Facebook Group
- First, open the Facebook group that you want to delete.
- Click on the “Members” section located on the left side of the page.
- Remove all members from the group by clicking the gear icon next to each member’s name and selecting “Remove from Group.”
- Once all members have been removed, click on “Leave Group” located next to your name.
- A prompt will appear asking if you’re sure you want to leave the group and delete it. Click “Leave and Delete.”
It’s important to note that once you delete a group, it cannot be recovered. So, make sure that this is the action you want to take before proceeding with the steps above.
Deleting a Facebook group may seem like a daunting task, but with this guide, it can be done efficiently and effectively. Ensure that you’ve considered all factors, and that the decision to delete a group is aligned with your goals for managing your online community.
Next, we’ll discuss the importance of managing your online community and best practices for successful group management.
Managing Your Online Community
Deleting a group on Facebook is just one part of managing an online community. It’s important to regularly assess and maintain your groups to ensure they continue to be a positive and productive space for your members. Here are some tips for effectively managing your Facebook groups:
- Establish clear rules and guidelines for group members to follow, and enforce these rules consistently.
- Be responsive to members’ questions, concerns, and feedback, and address any issues promptly and respectfully.
- Encourage active participation from members by regularly posting engaging content and fostering discussions.
- Regularly monitor the group for spam, inappropriate content, and inactive members, and take appropriate action.
- Consider appointing moderators to help you manage the group, particularly if the group has a large membership.
By following these best practices, you can ensure that your Facebook group is a vibrant and welcoming space for its members.

Uninstalling a Facebook group can be a daunting task, but with the right approach, it’s a simple process. Keep in mind that deleting a group should be done thoughtfully, and only when it’s in the best interests of your members. By following the step-by-step guide outlined in the next section, you can confidently remove your Facebook group and move forward with your online community.
Steps to Delete Facebook Group
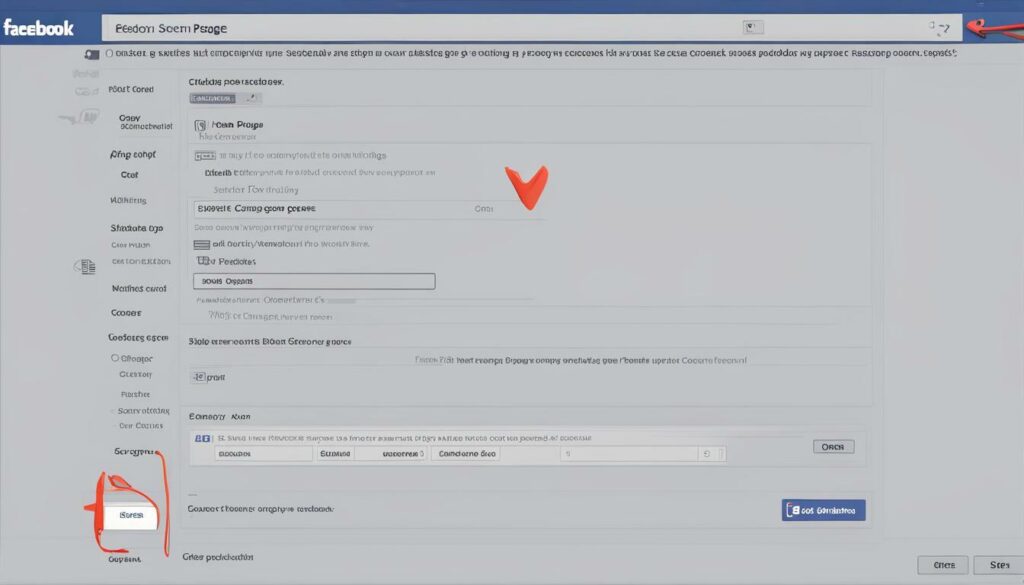
If you’ve decided that it’s time to get rid of a Facebook group, follow these simple steps to delete it:
- From your Facebook homepage, navigate to the group that you want to delete.
- Click on the “More” button below the group’s cover photo.
- Select “Edit Group Settings” from the drop-down menu.
- Scroll down to the bottom of the page and click the “Delete Group” button.
- Confirm that you want to delete the group by clicking on the “Delete Group” button again.
It’s important to note that deleting a group is permanent and cannot be undone. Make sure that you really want to delete the group before going through with it.
If you’re the only member of the group, Facebook will automatically delete it for you. If you’re not the only member, you’ll need to remove all members before you can delete the group.
It’s also worth mentioning that deleting a group will not delete any posts or comments made by members of the group. If you want to delete these as well, you’ll need to do so individually.
Now that you know how to delete a Facebook group, it’s important to remember that managing online communities responsibly is key to ensuring a positive experience for all members. Regular maintenance and monitoring can help prevent the need to delete a group in the first place.
Successfully Deleting Your Facebook Group
Deleting a Facebook group can seem like a daunting task, but it doesn’t have to be. By following the simple steps outlined in this article, you can successfully get rid of your group and move on. However, there are a few additional considerations and tips to keep in mind to ensure a smooth process.
1. Double-Check Before You Delete
Before deleting your Facebook group, it’s important to double-check that this is what you want to do. Once you delete a group, all of its content and members will be permanently removed. If you’re unsure about whether or not to proceed, consider archiving the group instead for safekeeping.
2. Handle Member Removals and Content Deletion First
Before attempting to delete your Facebook group, it’s essential to remove all members and delete any content such as posts or files. This ensures that no one is accidentally left in the group, and there’s no remaining content that could potentially be problematic. Once this is complete, you can then proceed with deleting the group.
3. Be Patient and Persistent
Sometimes deleting a Facebook group can be a bit tricky, and you may encounter technical issues. If this happens, don’t panic. Take a deep breath and try again. If problems persist, contact Facebook support for assistance. Remember, patience and persistence are key.

4. Consider the Consequences of Deleting a Facebook Group
Deleting a Facebook group can have consequences beyond just losing content and members. For example, if your group was associated with a business or organization, deleting it could impact your brand’s online presence. Additionally, if you’re part of other groups, leaving the group may have implications for your other memberships or affiliations. Consider these factors before proceeding.
5. Use Group Deletion as a Last Resort
Deleting a Facebook group should always be a last resort. Before taking this step, consider whether there are other ways to address any issues or concerns with the group. For example, could you change the group’s privacy settings or add more moderators to help manage the community? Exhaust all other options before deciding to delete the group.
By following these additional tips and considerations, you can confidently delete your Facebook group, knowing that you’ve taken all the necessary steps. Remember, managing online communities is a responsibility that shouldn’t be taken lightly, so make sure to approach group deletion and management thoughtfully and responsibly.
Conclusion
In summary, deleting a Facebook group can be a simple process if you follow the right steps. It’s important to manage your online communities responsibly and to ensure that you’re using them to foster positive interactions. Removing a Facebook group that has served its purpose can be a sign of good management and forward thinking.
By following the steps we’ve outlined above, you’ll be able to confidently remove a Facebook group and take steps towards creating a better online community. Remember to always keep your online interactions respectful and positive, and to seek help if you need it.
So go ahead and get rid of that Facebook group that’s no longer serving its purpose. With a little bit of effort and attention, you’ll be able to successfully delete a group on Facebook and move towards a brighter future for your online interactions.
FAQ
Q: How do I delete a Facebook group?
A: To delete a Facebook group, follow these simple steps:
Q: What are the reasons someone might want to delete a Facebook group?
A: There could be various reasons why someone might want to delete a Facebook group. Some common reasons include inactive members, lack of engagement, or the group no longer serving its intended purpose.
Q: How can I effectively manage my Facebook group?
A: Managing a Facebook group effectively involves several key practices. Some tips include setting clear guidelines, regularly moderating content, encouraging member participation, and addressing conflicts promptly.
Q: What are the steps to delete a Facebook group?
A: Follow these steps to delete a Facebook group:
1. Go to your group and click on “Members” in the left menu.
2. Remove all members from the group.
3. Go to the group settings and click on “Leave Group”.
4. Confirm your decision to delete the group.
Q: Are there any additional considerations when deleting a Facebook group?
A: Yes, there are a few things to keep in mind when deleting a Facebook group. Ensure to communicate the group’s closure to members beforehand, as well as consider saving any important content or discussions that may be lost after deletion.
Hi there, I'm Jacqueline! Passionate about the ins and outs of Facebook, I created this blog to be your go-to resource for mastering ad campaigns, community engagement, and algorithm hacks. Looking to make your Facebook efforts truly 'Like'-worthy? You're in the right place. Let's elevate your social impact together!


